

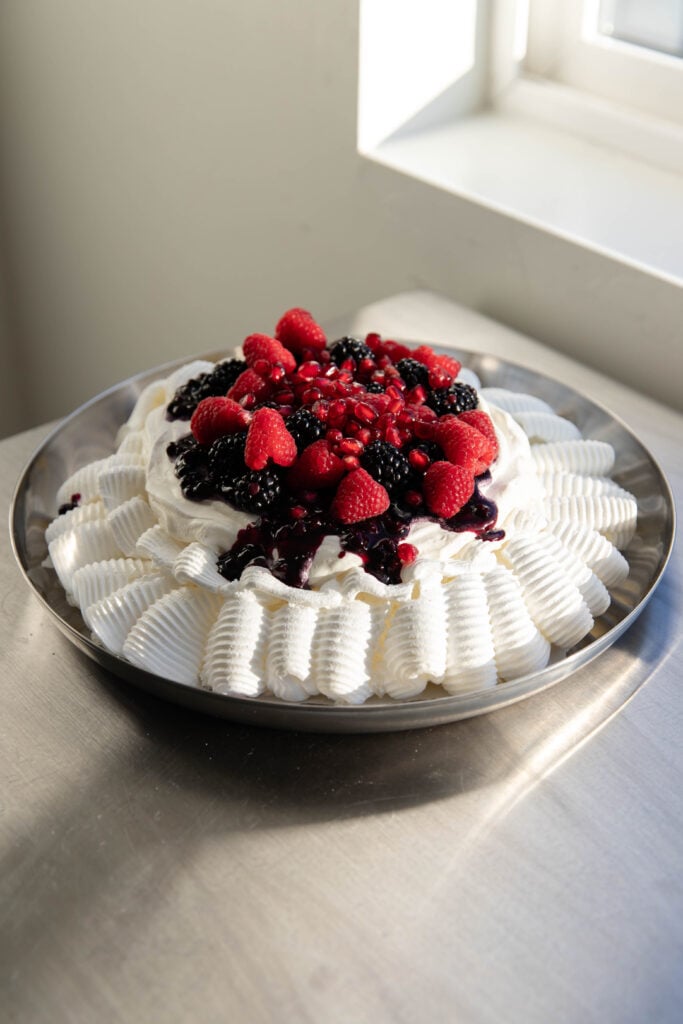

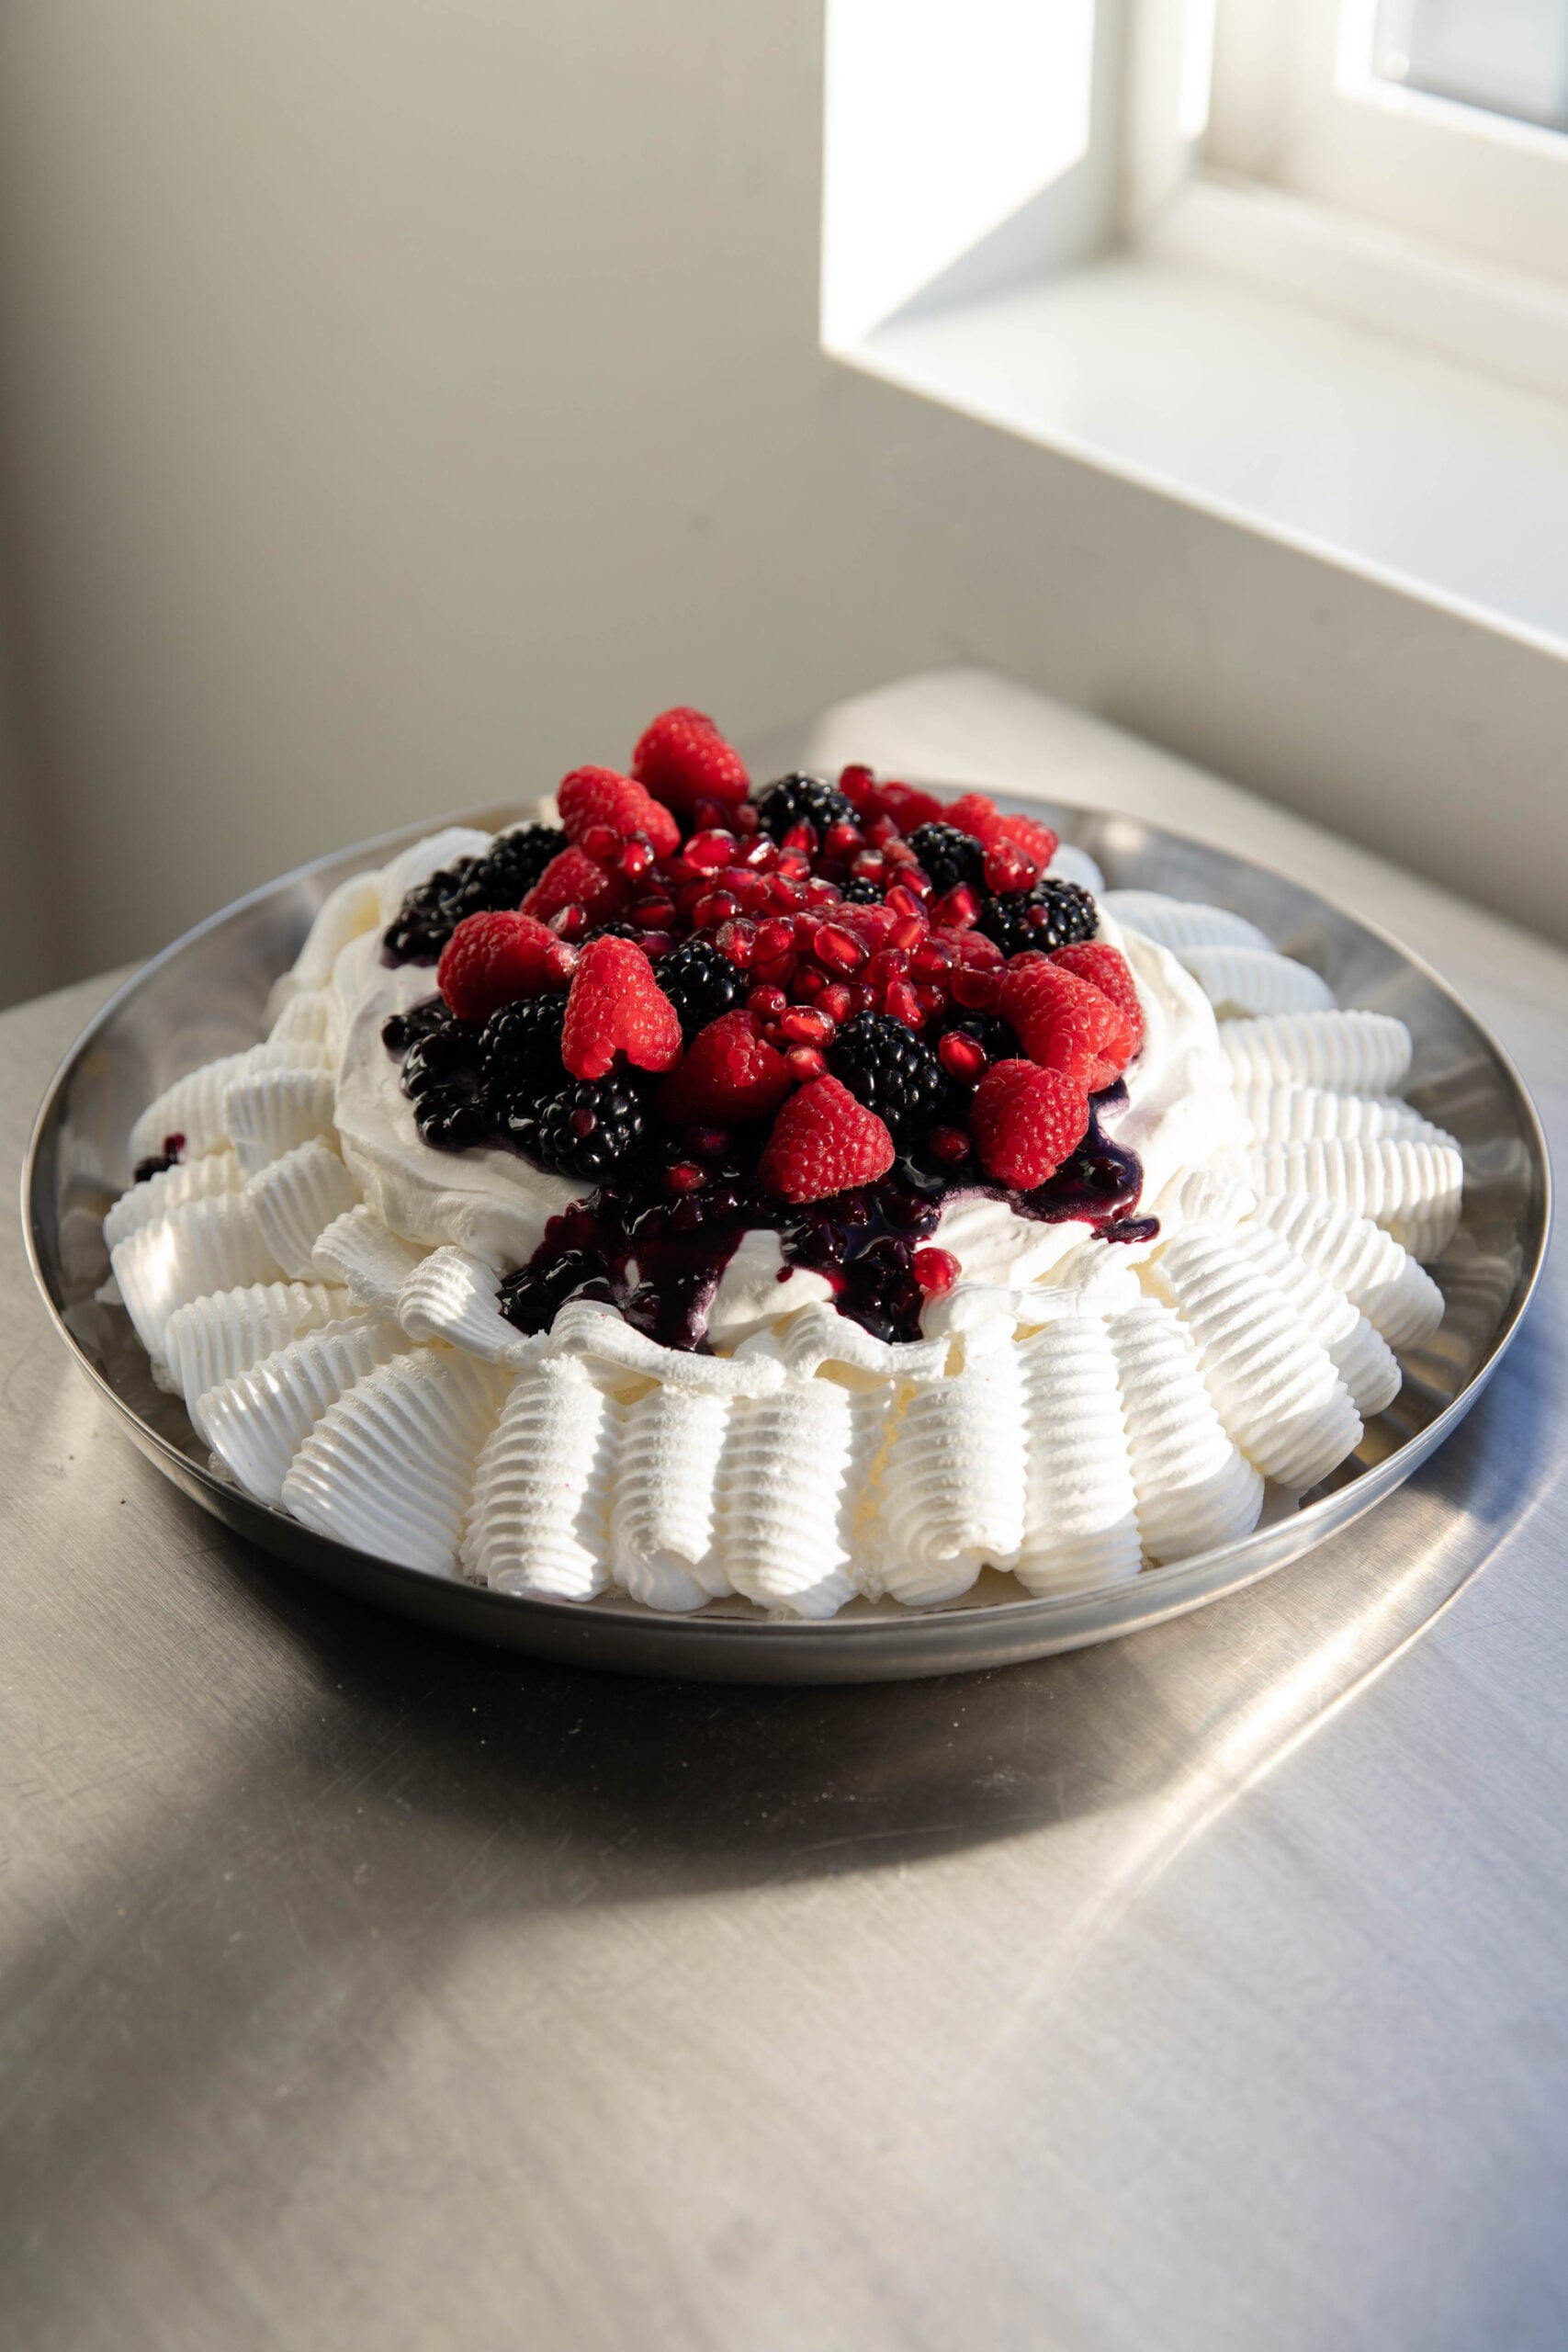
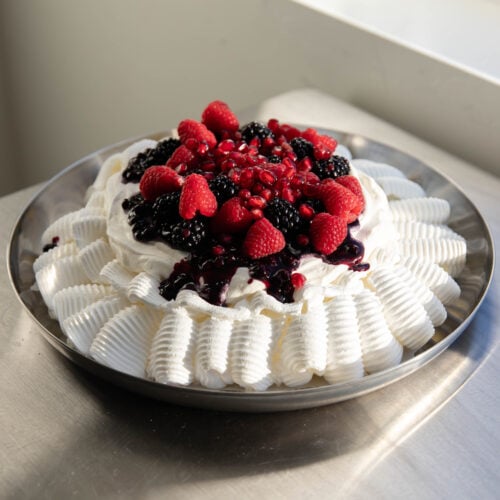
There is something about pavlova that feels a little extra special. It is one of those desserts that looks impressive enough for a dinner party or holiday gathering but is surprisingly simple to make at home. A beautiful cloud of crisp, delicate meringue topped with fluffy homemade whipped cream, sweet jam, and fresh berries? It truly, truly does not get better than that!
Plus you can really go any direction you want with the toppings. It needs whipped cream, but other than that, get creative! For the winter time I love a jam + lots of fresh berries.
what is pavlova?
Pavlova is a meringue-based dessert named after Russian ballerina Anna Pavlova. It is believed to have been created in honor of her during one of her tours of Australia and New Zealand, and both countries have long claimed its origin.
Unlike traditional meringue cookies, pavlova has a slightly crisp exterior with a soft, light, marshmallow-like center. The meringue is baked at a low temperature for an extended period of time, allowing the outside to dry out while the inside stays delicate and chewy.
ingredients you’ll need
for the pavlova:
- Egg whites: Egg whites are the base of the meringue. When whipped, they create the light, fluffy structure that makes pavlova so airy. Make sure your egg whites are at room temperature before starting. They will whip up more easily and create a better volume.
- Cream of tartar: This helps stabilize the egg whites as they whip. It makes the meringue stronger and helps it hold its shape while baking.
- Granulated sugar: Sugar sweetens the pavlova and helps create its signature crisp exterior. It also gives the meringue structure and stability. Adding it slowly is important so it has time to dissolve into the egg whites.
- Cornstarch: Cornstarch helps create the soft, marshmallowy center that makes pavlova different from a traditional meringue.
for the toppings:
- Heavy cream: Heavy cream is whipped into a light, fluffy topping. It balances the sweetness of the pavlova and creates a creamy layer for the fruit.
- Granulated sugar: Just a little sugar sweetens the whipped cream without making it overly sweet.
- Salt: A small pinch of salt brings out the flavor of the whipped cream and balances the sweetness.
- Jam: Use your favorite jam! I love the fruity flavor it adds and how it pairs with the sweet meringue. Strawberry, raspberry, blueberry, and blackberry jam are all delicious.
- Fresh berries: Fresh berries add a little tartness, color, and freshness. Strawberries, raspberries, blueberries, and blackberries are all great options.
equipment needed
- Stand mixer or hand mixer: Either is essential for whipping egg whites into stiff peaks. A stand mixer makes the process a little easier, but a hand mixer works just as well.
- Whisk attachment: If you’re using a stand mixer, use the whisk attachment to incorporate plenty of air into the egg whites.
- Large mixing bowl: You’ll need a large, clean bowl for whipping the egg whites and another for making the whipped cream.
- Small mixing bowl: This is helpful for combining the sugar and cornstarch before adding them to the meringue.
- Rubber spatula: A rubber spatula makes it easy to transfer and shape the meringue without deflating it.
- Baking sheet: The pavlova bakes directly on a parchment-lined baking sheet.
- Parchment paper: This prevents the pavlova from sticking to the baking sheet and makes it easier to transfer once cooled.
- Serving platter: Choose a platter that is large enough to hold the pavlova and all of the toppings!
how to make pavlova
Step 1: Prepare the oven and baking sheet
Preheat your oven to 225°F. Line a baking sheet with parchment paper and set it aside.
Make sure your mixing bowl and whisk are completely clean and dry before starting. Even a small amount of grease or egg yolk can prevent the egg whites from whipping properly. If you’re worried about it at all, pour a little white vinegar onto a paper towel and wipe down the inside of your bowl. This will ensure it is extra clean and ready to go.
Step 2: Whip the egg whites
Add the room-temperature egg whites to a large mixing bowl. Use a stand mixer or hand mixer to whip the egg whites until they become frothy, about 3 minutes.
Add the cream of tartar and continue mixing until stiff peaks form, about another 3 minutes.
Stiff peaks mean that when you lift the whisk out of the mixture, the egg whites hold their shape without falling over.
Step 3: Slowly add the sugar and cornstarch
In a small bowl, combine the granulated sugar and cornstarch.
With the mixer running on medium-low speed, add the sugar mixture one tablespoon at a time. Mix for about 30 seconds between each addition.
This step is important! Adding the sugar too quickly can deflate the meringue or leave you with a grainy texture.
Once all the sugar has been added, continue mixing until the meringue is thick, glossy, and very fluffy. Rub a little bit of the mixture between your fingers. If you can still feel grains of sugar, keep mixing until the sugar has dissolved.
Step 4: Shape the pavlova
Transfer the meringue to the center of your parchment-lined baking sheet.
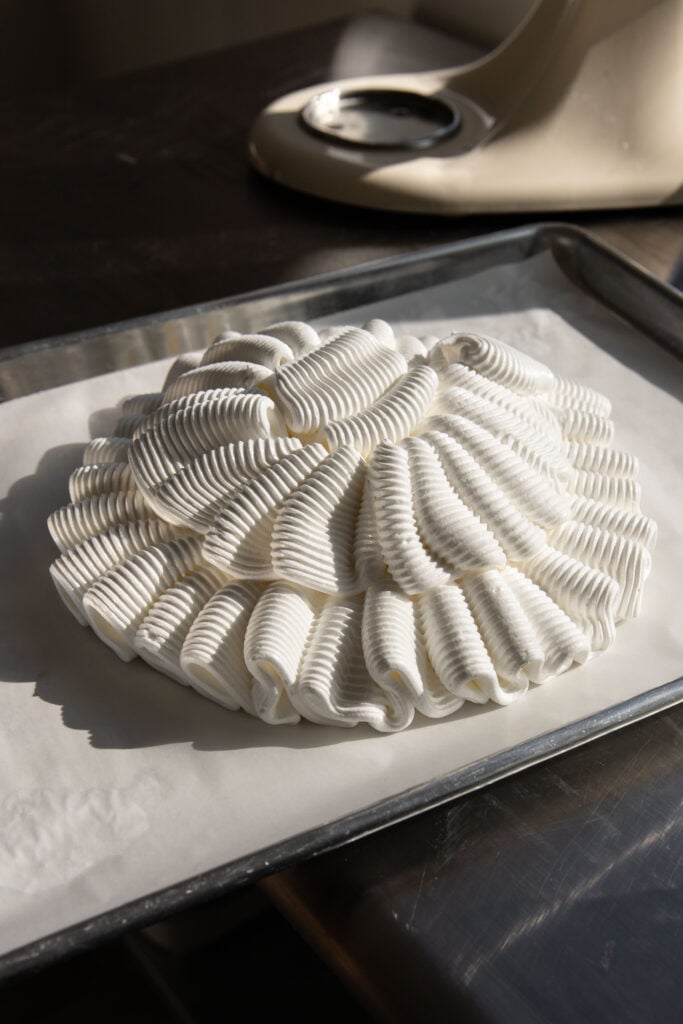
Use a rubber spatula to shape it into a tall cylindrical mound. You can make the sides slightly textured with your spatula for a pretty, homemade look.
If you want a more uniform shape, you can also transfer the meringue to a piping bag and pipe it into a cylinder.
Step 5: Bake the pavlova
Transfer the baking sheet to the oven and bake for 60–90 minutes.
The pavlova should feel dry and firm to the touch when it is finished baking. The outside should no longer be sticky.
Try not to open the oven while the pavlova bakes. Once you reach the 60-minute mark, quickly check the edge of the pavlova for stickiness, then close the oven door.
Every oven is a little different, so the exact baking time may vary.
Step 6: Let the pavlova cool slowly
Once the pavlova is finished baking, turn the oven off and prop the oven door slightly open.
Leave the pavlova inside the oven to cool for at least an hour and a half. This gradual cooling process helps prevent sudden temperature changes that can cause the pavlova to collapse or crack.
Don’t worry if your pavlova develops a few cracks! This is completely normal, and the whipped cream and berries will cover most of them.
Step 7: Make the whipped cream
While the pavlova cools, prepare the whipped cream.
Add the heavy cream, granulated sugar, and a pinch of salt to a large mixing bowl. Use a stand mixer with a whisk attachment or a hand mixer to whip until soft peaks form, about 5 minutes.
Soft peaks mean the whipped cream holds its shape but still looks light and fluffy. Be careful not to overmix, or you’ll end up with a thicker, butter-like texture.
Step 8: Assemble and serve
Once the pavlova has completely cooled, carefully transfer it to a serving platter.
Spread the whipped cream over the top, then add the jam and fresh berries.
I love keeping the toppings a little imperfect and letting the jam naturally swirl into the whipped cream. It makes the pavlova look beautiful without requiring any extra effort!
Serve immediately and enjoy!
other pavlova topping ideas
One of my favorite things about pavlova is how customizable it is. Here are a few combinations I think would be delicious:
- Lemon and blueberry: Add lemon curd, fresh blueberries, and a little lemon zest over the whipped cream. The tart lemon is so good with the sweet meringue!
- Strawberry and chocolate: Top with sliced strawberries, chocolate shavings, and a drizzle of chocolate sauce.
- Tropical fruit: Use sliced kiwi, mango, and passion fruit for a bright, fresh topping.
- Peach and raspberry: Add fresh peach slices, raspberries, and a drizzle of honey. This would be especially delicious in the summer.
- Mixed berry: Use a combination of strawberries, blueberries, blackberries, and raspberries with your favorite berry jam.
- Citrus and pomegranate: Top with orange segments, pomegranate seeds, and a little orange zest for a beautiful winter-inspired pavlova.
- Cherry and almond: Add fresh cherries, cherry preserves, and toasted sliced almonds for a slightly nutty, fruity combination.
You can really use whatever fruit is in season or whatever you have on hand. Just keep in mind that juicy fruit can release liquid, so it’s best to add the toppings right before serving.
how to store leftover pavlova
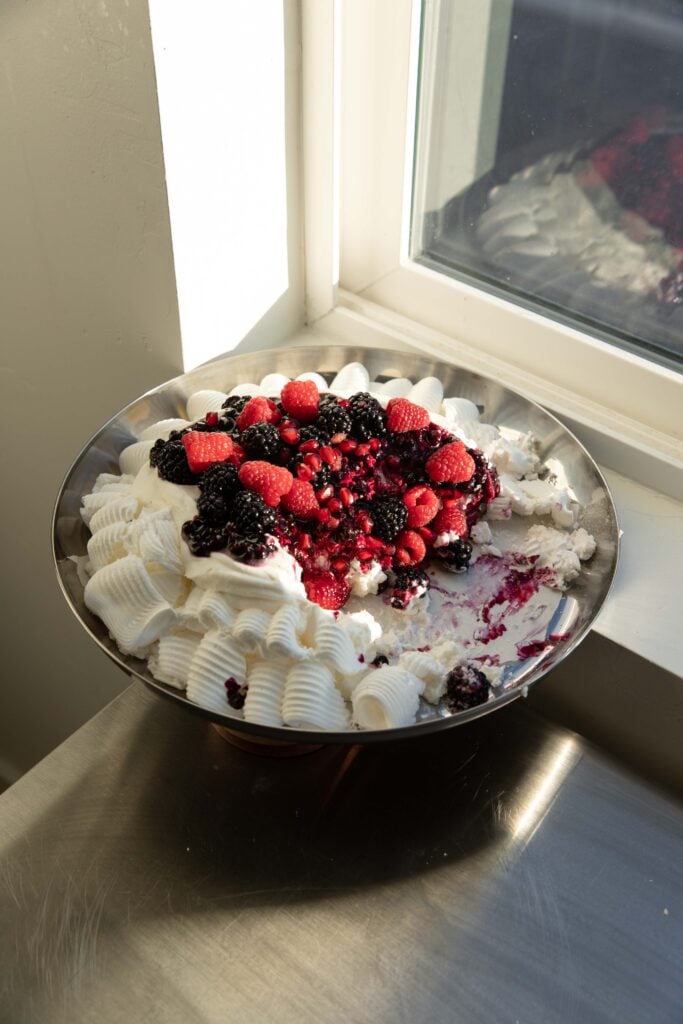
Pavlova is best served immediately after assembling. Once the whipped cream and fruit are added, moisture begins to soften the crisp meringue.
If you have leftover assembled pavlova, you can store it in an airtight container in the refrigerator for up to 1–2 days. The outside will soften, and the texture won’t be quite the same as when it was freshly assembled, but it will still taste delicious!
If you know you will have leftovers, I recommend storing the components separately whenever possible.
how to store pavlova before assembling
If you want to make pavlova ahead of time, you absolutely can! The trick is keeping the meringue, whipped cream, and toppings separate until you’re ready to serve.
Pavlova base: Once the pavlova has completely cooled, carefully transfer it to an airtight container. Store it at room temperature in a cool, dry place for up to 2 days. Avoid refrigerating the plain meringue because the moisture in the refrigerator can make it sticky and soft.
Whipped cream: Store homemade whipped cream in an airtight container in the refrigerator for up to 24 hours. It may lose a little volume as it sits, so you can gently whisk it again before serving if needed.
Jam: Keep the jam in its original container or transfer it to an airtight container. Store it in the refrigerator according to the package instructions.
Fresh berries: Wash and thoroughly dry the berries before storing them in the refrigerator. Keep them in an airtight container lined with a paper towel to absorb excess moisture. For the best texture, wait to slice larger berries until just before assembling.
how to assemble pavlova ahead of time
For the best results, I recommend making the pavlova base the day before you plan to serve it. Prepare the whipped cream and wash the berries on the day of serving, then keep everything separate until you’re ready to assemble.
When it’s time to serve, transfer the pavlova to a serving platter, add the whipped cream, spread the jam over the top, and finish with the fresh berries.
Assemble the pavlova as close to serving time as possible. This keeps the outside crisp and prevents the meringue from becoming soggy!
tips for making the best pavlova
- Use room-temperature egg whites. Room-temperature egg whites whip up more easily and create a greater volume than cold egg whites.
- Make sure your bowl is completely clean. Any grease or egg yolk can interfere with the egg whites whipping properly. I recommend wiping down your bowl and whisk before starting.
- Add the sugar slowly. This is one of the most important steps! Adding the sugar gradually allows it to dissolve into the egg whites and creates a smooth, glossy meringue.
- Don’t skip the cornstarch. Cornstarch helps create the soft, marshmallow-like center that makes pavlova so delicious.
- Be patient while it cools. Letting the pavlova cool slowly in the oven helps prevent sudden temperature changes. Avoid moving it while it cools.
- Don’t worry about cracks. Pavlova is naturally delicate, and a few cracks are completely normal. The toppings will cover them, and they won’t affect the flavor!
- Wait to add the toppings. Assemble the pavlova right before serving so the whipped cream and fruit don’t make the meringue soggy.
frequently asked questions
Pavlova is naturally delicate, so a few cracks are completely normal! Cracking can happen when the meringue cools too quickly or experiences a sudden temperature change. Leaving the pavlova in the oven to cool slowly helps minimize cracking.
Pavlova can become sticky when it absorbs moisture from the air. This is especially common on humid days. Make sure the pavlova is fully baked and completely cooled before storing it in an airtight container. Avoid storing the plain pavlova in the refrigerator.
The outside should feel dry, firm, and no longer sticky to the touch. Depending on your oven and the size of your pavlova, this usually takes 60–90 minutes at 225°F.
Yes! Pavlova is a great make-ahead dessert. Bake the pavlova base the day before, let it cool completely, and store it in an airtight container at room temperature. Prepare the whipped cream and fruit separately, then assemble everything right before serving.
Freezing an assembled pavlova isn’t recommended because the meringue can become soggy and lose its crisp texture when thawed. For the best results, make the pavlova fresh and store it at room temperature in an airtight container for a couple of days.
Absolutely! A hand mixer works just as well. You can even whip egg whites by hand with a whisk, but it takes quite a bit of time and arm strength. I recommend using an electric mixer if you have one.
Both pavlova and meringue are made primarily with whipped egg whites and sugar. The biggest difference is the texture. Traditional meringue is usually crisp all the way through, while pavlova has a crisp exterior and a soft, marshmallow-like center. Cornstarch is often added to pavlova to help create this signature texture.
other recipes you’ll love
pavlova
Ingredients
pavlova
- 6 egg whites (room temp)
- 1 tsp cream of tartar
- 1 1/2 cups granulated sugar (300 g)
- 1 tbsp cornstarch
toppings
- 1 cup heavy cream
- 1 tbsp granulated sugar
- 1 pinch of salt
- 1/2 cup jam of choice
- 1 cup fresh berries
Instructions
- Preheat the oven to 225F. Line a baking sheet with parchment paper.
- Place the egg whites in a large bowl. Use a stand mixer or hand mixer to mix until the eggs are frothy, about 3 minutes. Add the cream of tartar, then continue to mix until stiff peaks form, about 3 more minutes.
- Combine the sugar and cornstarch in a small bowl. With the mixer on medium-low, add 1 tablespoon of the sugar mixture at a time, mixing for 30 seconds between each addition. Rub some of the meringue between your fingers to see if you can feel any sugar grains. If you can, continue mixing until you no longer feel the sugar. The mixture will be very light and fluffy.
- Transfer the mixture to the center of the parchment-lined baking sheet in a mound. Use a rubber spatula to shape the pavlova into a cylindrical shape. Alternatively, transfer the mixture to a piping bag and pipe into a cylindrical shape.
- Transfer to the oven and bake for 60-90 minutes, until the pavlova is no longer sticky and is hard to the touch. Do not open the oven until the 60-minute mark; quickly touch the edge to test for stickiness, then close the oven door. Once the pavlova is finished baking, leave it in the oven, turn off the oven, and prop the oven door slightly open. Let the pavlova cool down slowly for at least an hour and a half.
- While the pavlova cools, make the toppings. Place the heavy cream, sugar, and salt in a large bowl. Use a stand mixer with a whisk attachment or a hand mixer to mix until soft peaks form, about 5 minutes.
- Once the pavlova has cooled, carefully transfer it to a serving dish, then top with the whipped cream, jam, and fresh berries.



What’d you think? I’d love to hear your thoughts or if you have any questions!