


last updated on October 29, 2026
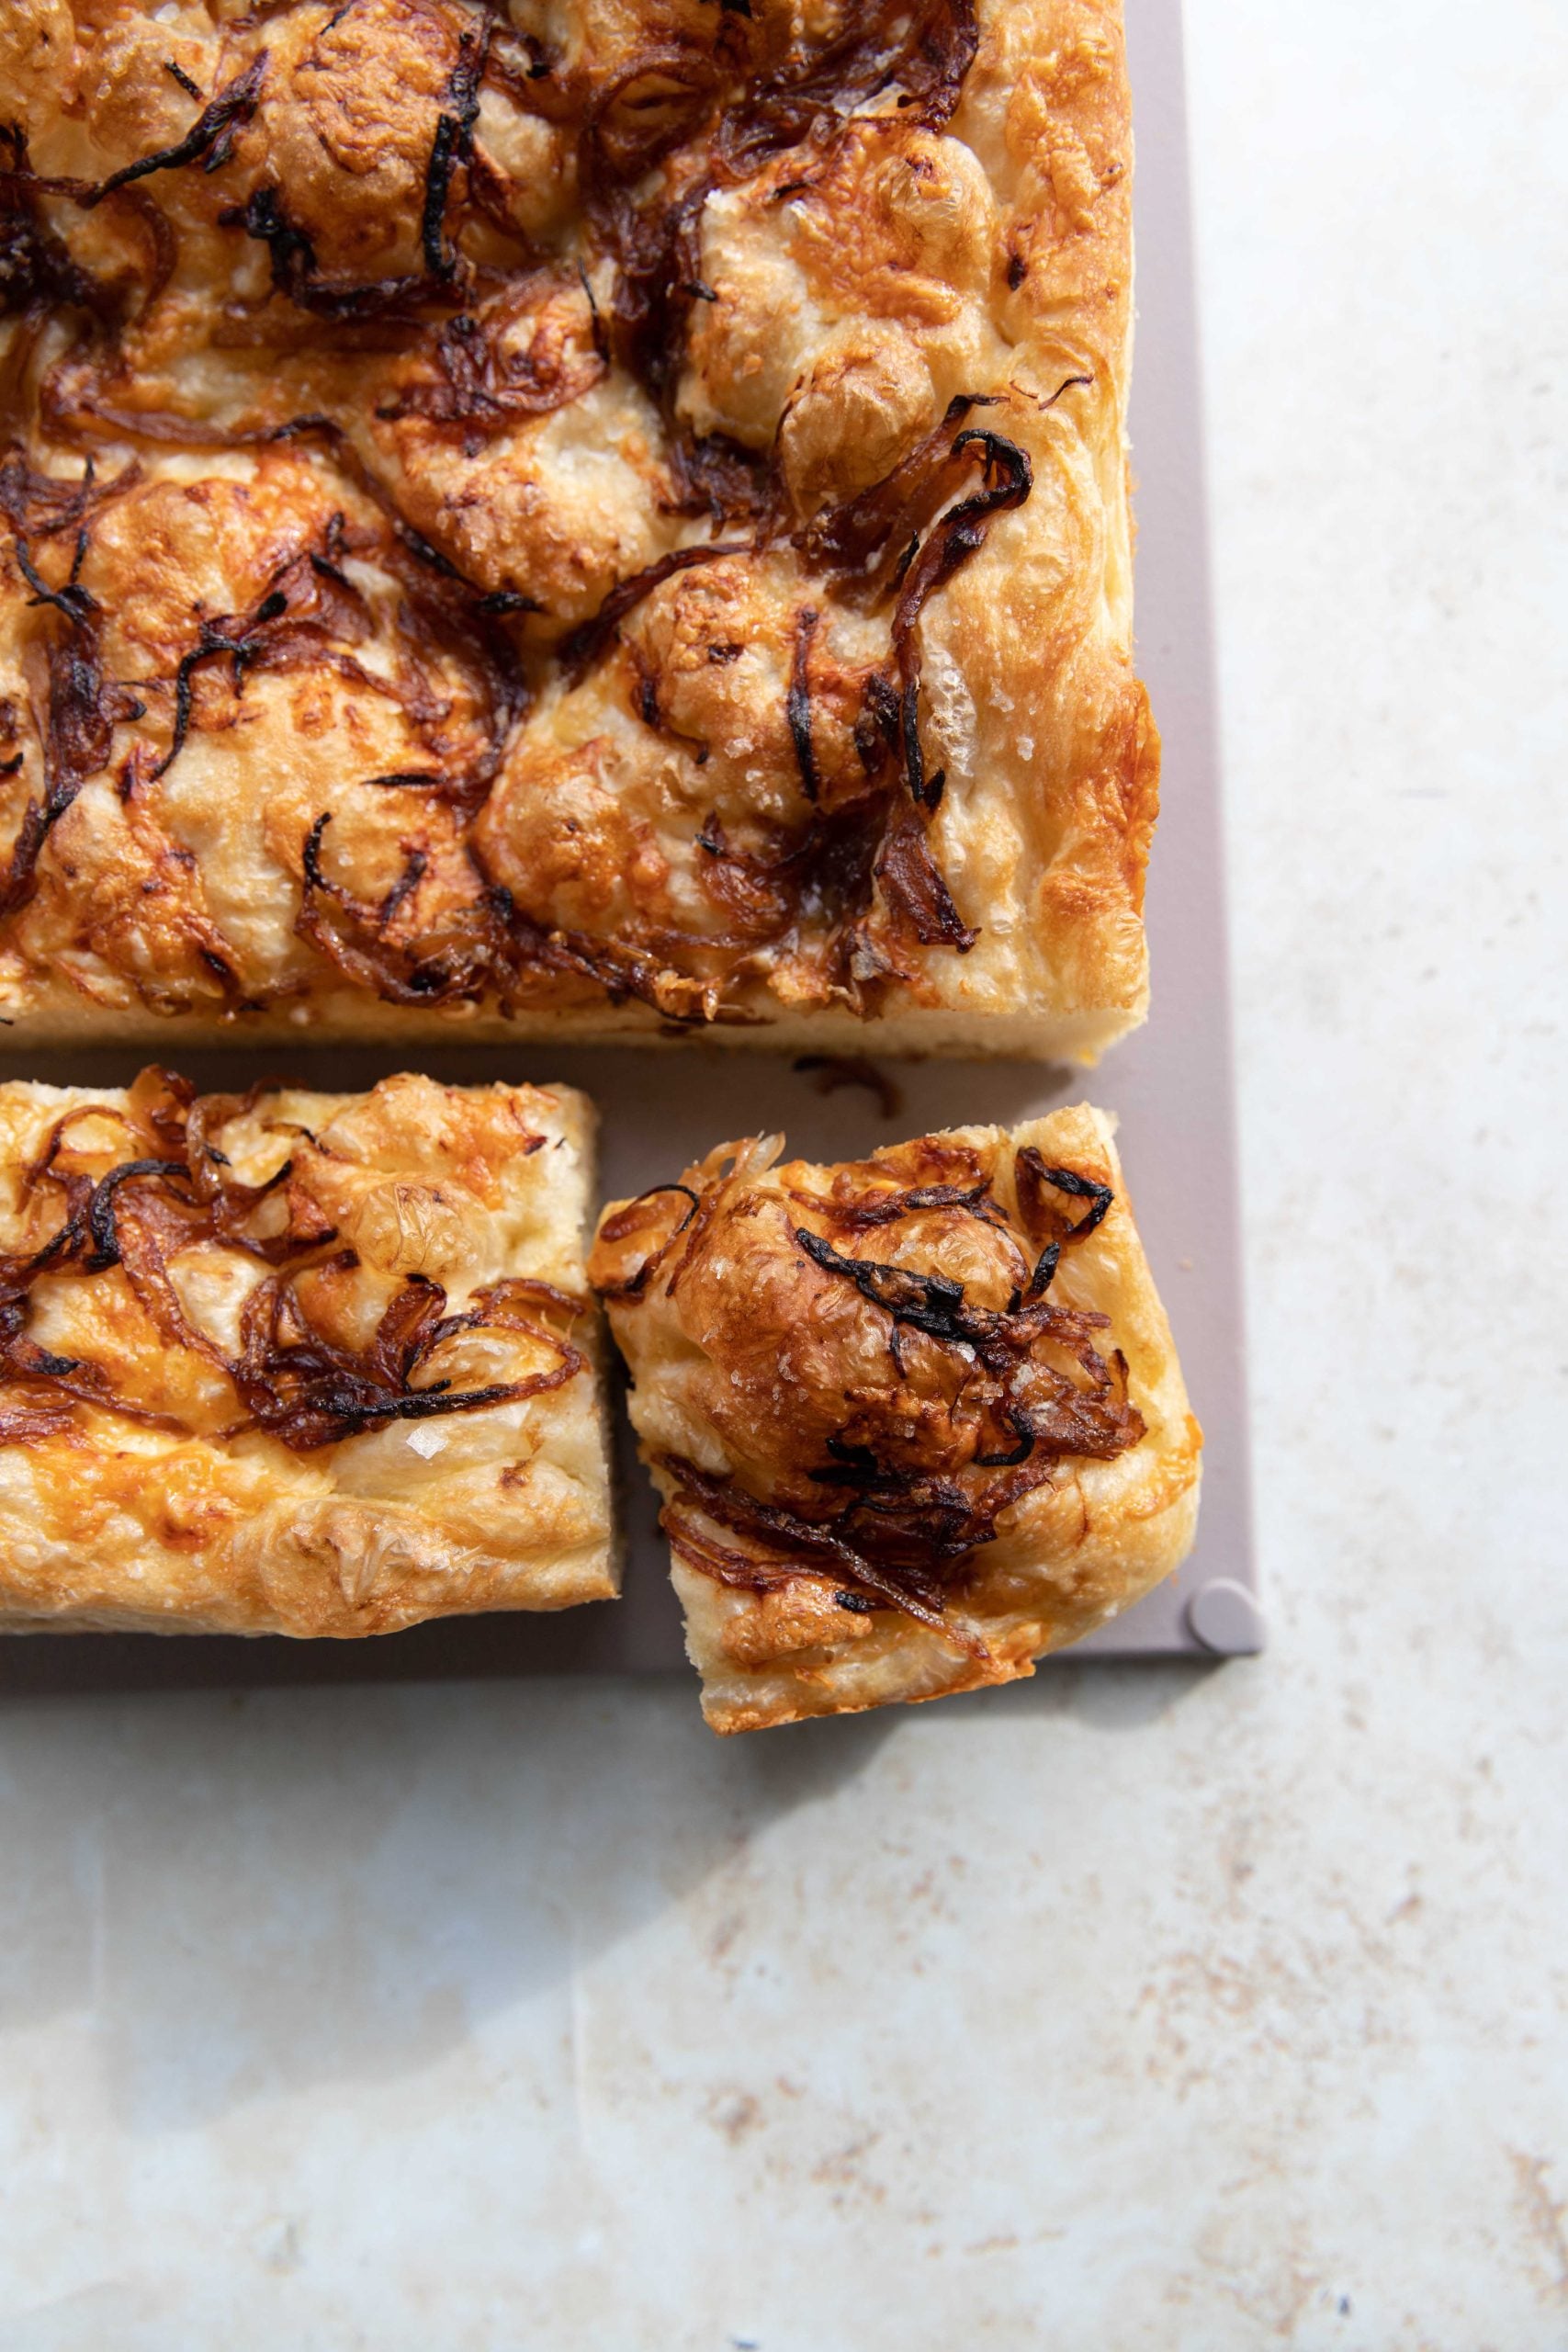
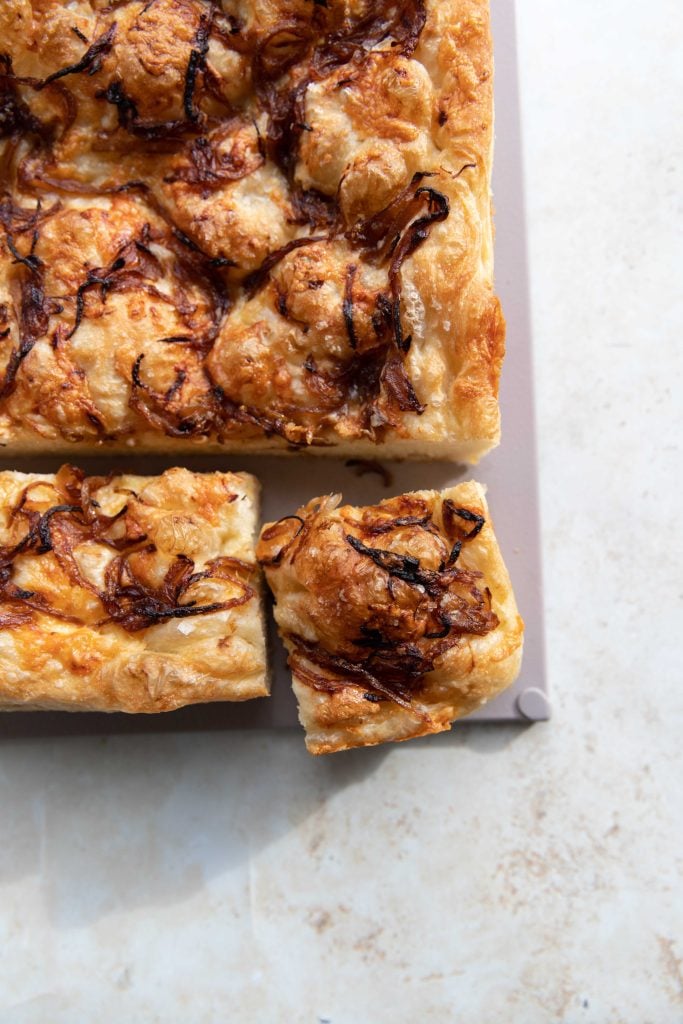
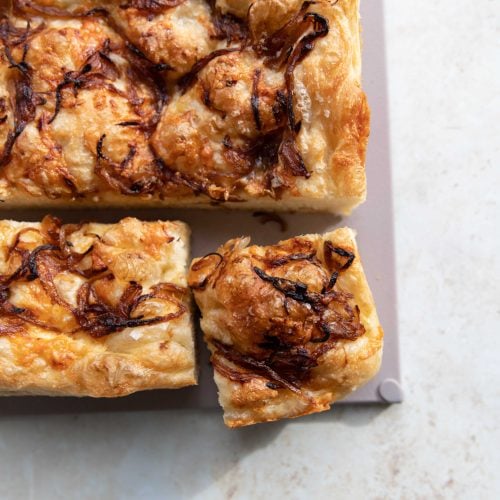
It is no secret that I am obsessed with focaccia. My newest focaccia obsession is this caramelized onion focaccia with sharp white cheddar throughout the dough. It’s savory and hits all the right notes. Good luck not eating every piece hehe!
ingredients for the perfect caramelized onion focaccia
focaccia:
- 500 g (just under 4 cups) bread flour: Bread flour is preferred for its higher protein content, which helps create a chewier, airy texture. You can substitute all-purpose flour if needed.
- 2 teaspoons kosher salt: Salt adds flavor and helps with dough structure.
- 2 teaspoons instant yeast: Instant yeast is quick-acting, making it perfect for this recipe.
- 35 g (3 tablespoons) olive oil: Olive oil provides richness and flavor, contributing to the dough’s texture.
- 435-450 g (about 1 3/4-2 cups) warm water: The water hydrates the dough and activates the yeast.
toppings:
- 2 tablespoons olive oil: For drizzling over the focaccia to enhance flavor and help with the golden, crispy top.
- 1 1/2 cups sharp white cheddar, shredded: The sharp cheddar cheese adds a creamy, tangy flavor to balance the soft dough.
- 2 small onions: Who doesn’t love caramelized onions on everything??
- 1 tablespoon olive oil: Used for caramelizing the onions to achieve that golden-brown goodness.
how to make this caramelized onion focaccia:
- Combine Dry Ingredients: Add the bread flour, kosher salt, and instant yeast into a large bowl. Stir to combine these dry ingredients thoroughly.
- Add Water and Mix: Pour the olive oil and warm water into the bowl, and use a rubber spatula to mix until there are no streaks of flour remaining. The dough will be sticky but that’s normal.
- First Rise and Stretch/Fold: Cover the bowl with a damp cloth and let it rest in a warm spot for about 30 minutes. After the initial resting period, perform a set of stretch and folds:
- Wet your hands slightly to prevent sticking, and reach under one side of the dough to gently pull it upwards. Then fold it back over towards the center of the bowl.
- Rotate the bowl 90 degrees and repeat on each side until you’ve done all four sides.
- Repeat Stretch and Fold: Let the dough rest again for 30 minutes, and repeat the stretch and fold process until you’ve done it four times over 2 hours. During the last round of folds, add about 1/4 cup of shredded white cheddar cheese into the dough between each fold, layering it throughout the dough.
- Prepare Pan and Final Rise: Grease a 9×13-inch pan. Add the olive oil in the middle and transfer the dough into the pan. Gently stretch it to fit the shape of the pan but don’t press it too hard. Let the dough rise for about 2 hours or until it doubles in size.
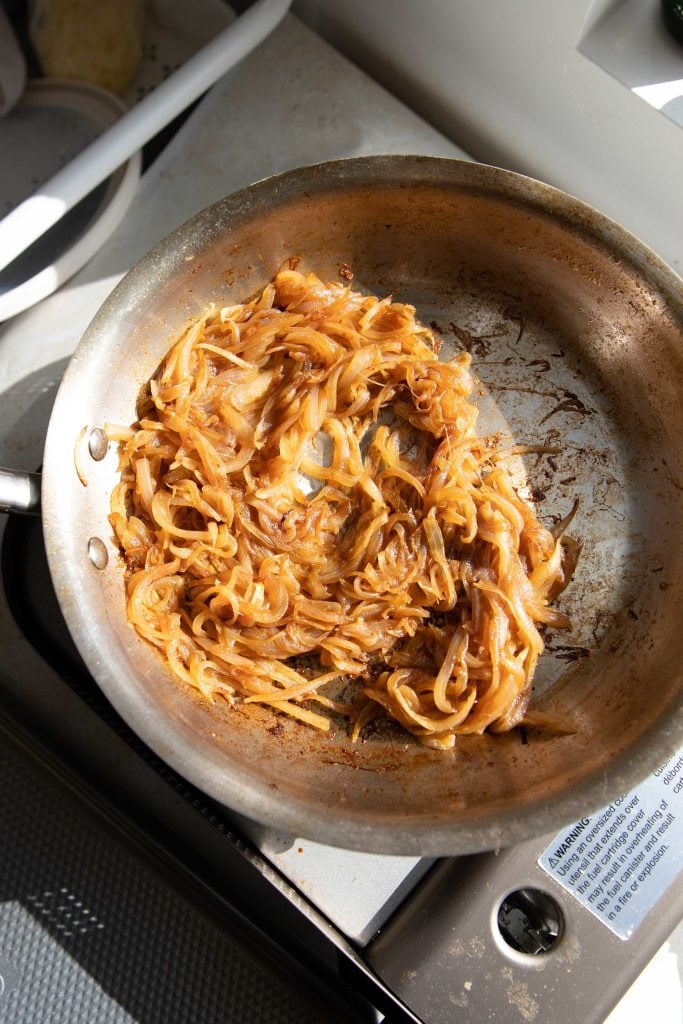
- Caramelize Onions: While the dough rises, thinly slice your onions and cook them slowly in olive oil over low heat until they turn amber in color (about 20-30 minutes). Set aside to cool.
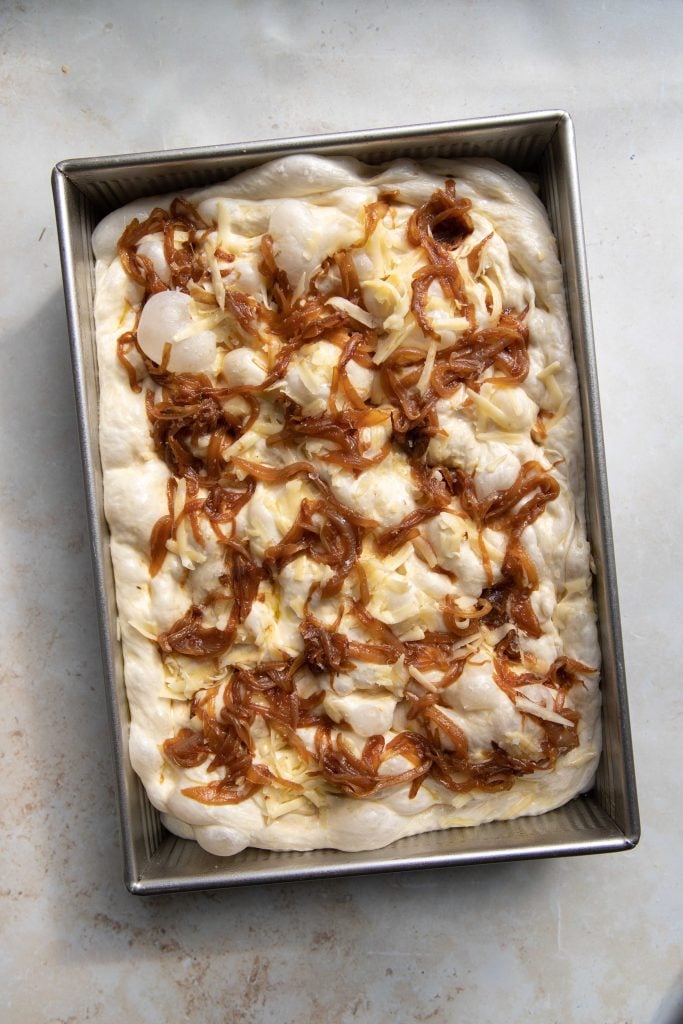
- Add Toppings and Bake: Once the dough is ready, drizzle the remaining olive oil on top. Using your fingers, gently make dimples in the dough, then sprinkle with the remaining cheddar and the caramelized onions. Add a pinch of flaky salt if desired. Bake at 450°F for 15 minutes, then reduce the temperature to 425°F and bake for an additional 10-15 minutes until golden brown.
how elevation affects flour measurements
If you live at a high elevation (3500ft+), you’ll need to think about how that affects your flour. Generally, you need more water in bread at a higher elevation, because the air is dryer hence the flour is drier and takes more water to hydrate it. That is why I have given a range of water in the recipe. If you live at a lower elevation, I’d recommend 435 g of water, whereas if you live at a higher elevation I’d recommend 450 g. It’s not a huge difference, but will make a difference in your dough.
why you should measure ingredients with a scale
For the best and most consistent results in baking, it’s highly recommended to measure your ingredients using a kitchen scale. This is particularly important for flour, as it can vary greatly in density depending on how it’s scooped or packed into a measuring cup. A scale ensures accuracy, preventing too much or too little flour from altering the texture of your focaccia. Weighing ingredients helps achieve the ideal hydration level, resulting in a dough that’s neither too sticky nor too dry.
how to make this caramelized onion focaccia overnight
If you’re looking to prep your caramelized onion focaccia in advance, you can make it overnight with a slow fermentation process that enhances the flavor and texture. Here’s how to do it:
- Follow the initial steps for mixing the dough, but after the first 2 hour rise and stretch and folds, instead of letting the dough rise for the additional 2 hours, place it in the refrigerator to ferment overnight. The cold temperature will slow the yeast activity, allowing the dough to develop deeper flavors.
- The next morning, remove the dough from the fridge and let it come to room temperature for about 30-60 minutes.
- Proceed with the second rise in your greased pan and continue as usual with the dimpling and topping steps before baking.
This method results in focaccia with an even better flavor profile, thanks to the slow fermentation.
how to make focaccia without toppings
If you prefer a more traditional, plain focaccia, or if you just want to skip the toppings, here’s how to adjust the recipe: After completing the dough and its second rise, skip the cheese and onions entirely. Drizzle the dough with olive oil and sprinkle with salt or herbs of your choice. Then bake the focaccia the same as directed in this recipe! You can see more of my tips and tricks for the best focaccia here.
equipment needed
- Large Mixing Bowl
- Rubber Spatula or Wooden Spoon
- Kitchen Scale
- 9×13-Inch Baking Pan
- Plastic Wrap or Kitchen Towel
- Measuring Cups and Spoons
- Frying Pan (for Caramelizing Onions)
- Cooling Rack
- Olive Oil Drizzle Bottle (Optional)
other recipes you’ll love
- detroit style pizza
- zucchini bread with salted maple whipped cream
- small batch biscuits with lemon dill butter
- the perfect dinner rolls
caramelized onion focaccia
Ingredients
focaccia
- 500 g (just under 4 cups) bread flour (or all-purpose)
- 2 teaspoons kosher salt
- 2 teaspoons instant yeast
- 35 g (3 tablespoons) olive oil
- 435-450 g (about 1 3/4-2 cups) warm water
topping:
- 3 tablespoons olive oil divided
- 1 1/2 cups sharp white cheddar shredded
- 2 small onions
Instructions
- Add the flour, salt, and yeast to a large bowl. Stir to combine. Add the water and olive oil. Use a rubber spatula to stir until no streaks of flour remain, about 3 minutes.
- Cover and let the dough rise in a warm spot. After 30 minutes, perform a set of stretch and folds: Stretch: With slightly wet hands (to prevent sticking), reach under one side of the dough and gently stretch it upwards. You want to pull the dough without tearing it, stretching it to a point where it begins to feel slightly resistant.Fold: Once you’ve stretched the dough, fold it over towards the center of the bowl. The goal is to gently fold the dough onto itself.Rotate: Turn the bowl 90 degrees, and repeat the stretch and fold technique on the next side of the dough. Continue for the full 360 degrees of the dough.
- Cover the dough and let rest an additional 30 minutes. Repeat the process until the dough has rested a total of 2 hours, and 4 stretch and folds have been performed.
- During the last stretch and fold, add about 1/4 cup of cheese in between each fold, layering the cheese throughout the dough.
- After the last stretch and fold, throughly grease a 9×13-inch pan. Add 1 tablespoon of olive oil in the center of the pan.
- Transfer the dough to the pan and coat the outside in the olive oil. Gently press down to stretch the dough better fit the pan, just the general shape — it shouldn’t stretch across the whole pan yet.
- Cover the pan (with plastic wrap or a light kitchen towel) and let it rise for about 2 hours, or until it has doubled in size/fills the pan.
- While the dough is rising, prepare the onions. Thinly slice the onions. Add the olive oil to a large pan over medium-low heat. Add the onions the pan. Cook, stirring occasionally, for 20-30 minutes, until the onions have turned a deep amber color. If the onions start to burn, turn down the heat and add a splash of water to get up any of the burned bits off the pan. Once the onions are caramelized, transfer to a plate to cool off completely.
- Once the onions are cooled and the dough has finished rising, preheat the oven to 450F. Drizzle the remaining tablespoon of olive oil across the top of the dough. With lightly oiled fingers, make several dimples in the dough. Sprinkle the remaining 1/2 cup of cheese across the top, followed by the caramelized onions. Add a pinch of flaky salt across the top (optional).
- Transfer to the oven and bake for 15 minutes, then lower the temperature to 425F and bake another 10-15 minutes, until the top is deeply golden brown. Carefully transfer the dough to a cooling rack to cool completely. Enjoy!!

Is the original temperature 450° to start with? Also does the Olive oil go in before the water?
yes, the oven is set to 450 to start, then gets lowered to 425 for the last half of baking! and yes, sorry that wasn’t clear. i added a clearer note in the recipe card.