


last updated on October 30, 2026
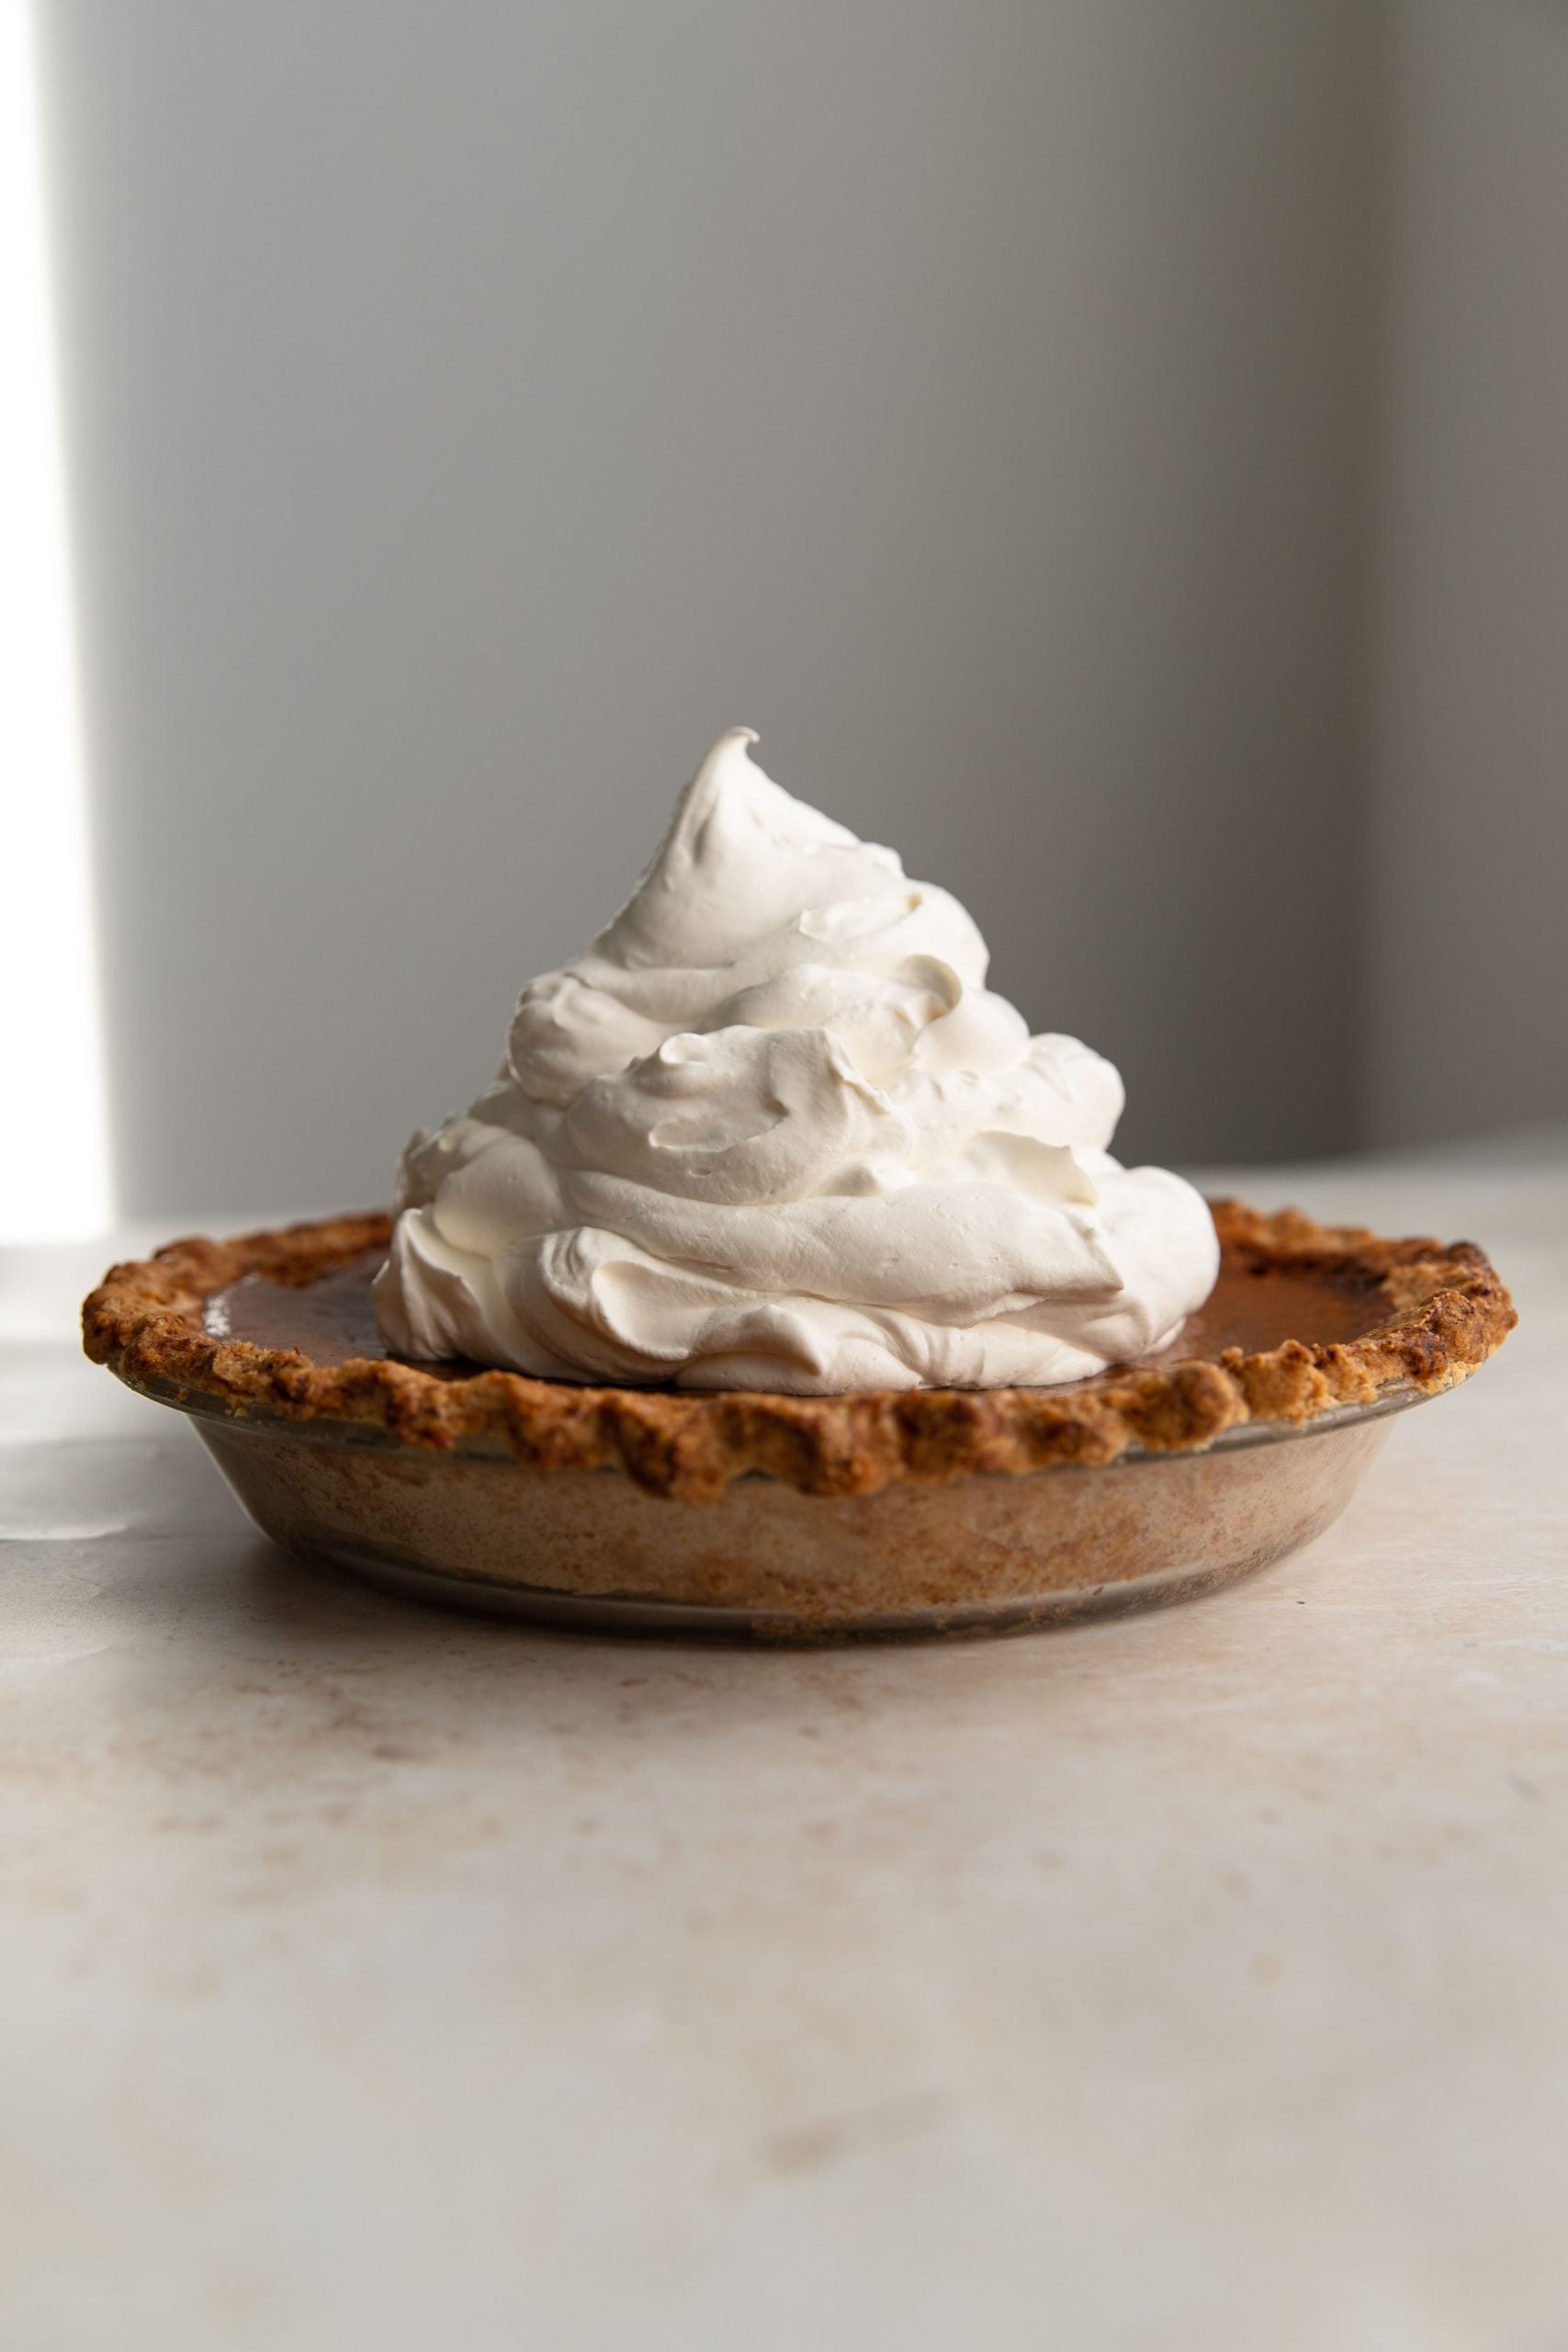
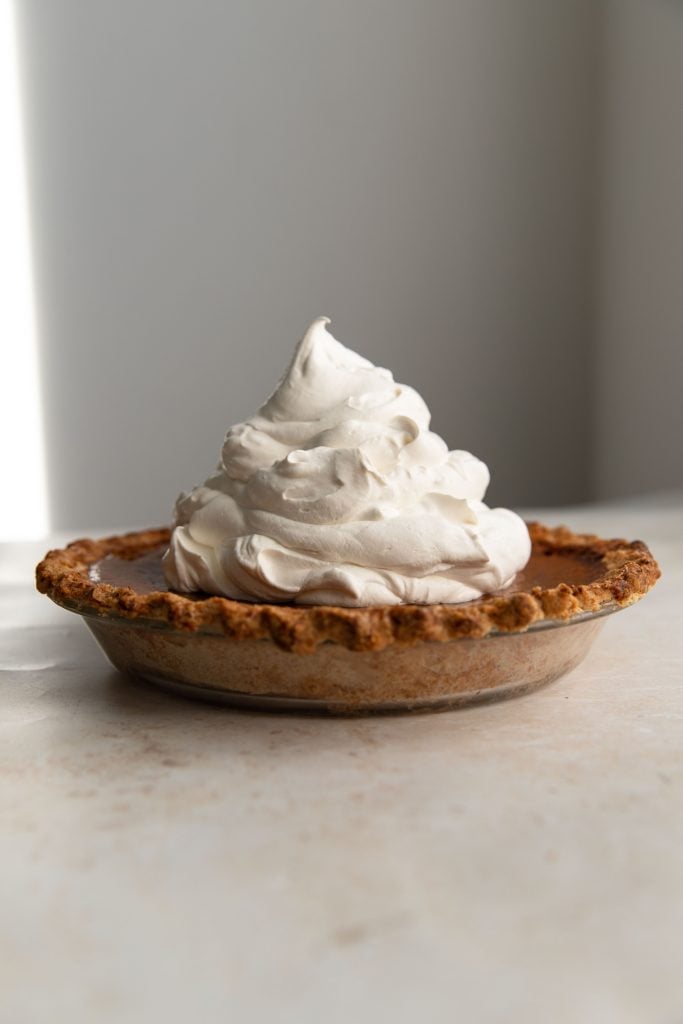
Pumpkin pie is one of my all-time favorite Thanksgiving closers. It is the perfect salty-sweet dessert, in my opinion. This pumpkin pie recipe really leans into those sweet-and-salty flavors. It has a creamy, fluffy, salted maple whipped cream that complements the pie so well!
When it comes to baking a pumpkin pie, it is very easy to accidentally grab the wrong can off the grocery store shelf– evaporated milk when you wanted sweetened condensed milk, or pumpkin filling when you needed pumpkin puree, for example. There is nothing worse than getting home and realizing that you have the wrong ingredient! Here are a few things to remember as you shop:
evaporated milk vs. sweetened condensed milk
I like to make my pumpkin pie with sweetened condensed milk because it creates a denser, slightly creamier texture than evaporated milk. In recipes that call for evaporated milk, you have to add extra sugar. If the sugar isn’t mixed in well enough, the pie filling becomes gritty. Sweetened condensed milk is a more foolproof way to get the filling texture just right, and we can avoid that gritty pumpkin pie texture.
pumpkin puree vs. pumpkin filling
Pumpkin puree is just pure pumpkin, but pumpkin filling is full of spices. We’re going to be adding our own spices to our pie, so we’re using pumpkin puree!
other recipes you’ll love
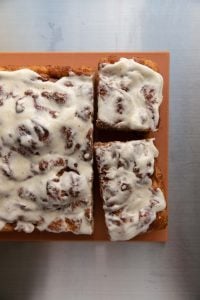
- pumpkin cake with cream cheese frosting
- pumpkin streusel muffins
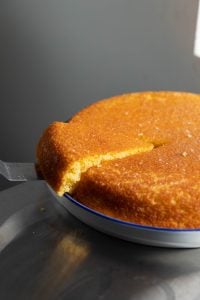
- zucchini bread with salted maple whipped cream
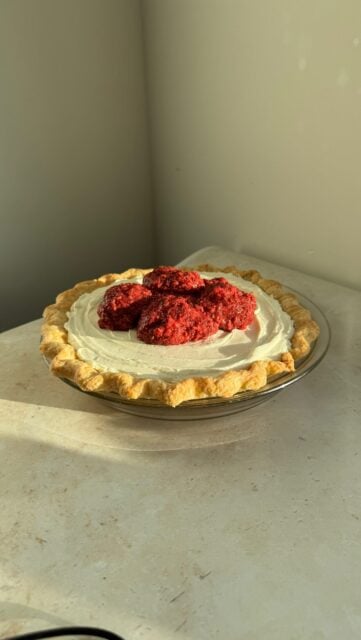
- raspberry cream pie
pumpkin pie with salted maple whipped cream
Ingredients
pie crust
- 2 cups all-purpose flour 260 g
- 1 tablespoon sugar
- 1 teaspoon kosher salt
- 2/3 cup lard
- 1-3 tablespoons cold water
- 1 egg for egg wash
pumpkin pie filling
- 1 15 oz can pumpkin puree
- 1 14 oz can sweetened condensed milk
- 1/4 cup brown sugar 54 g
- 2 large eggs at room temp
- 2 teaspoons pumpkin pie spice
- 1 teaspoon cinnamon
- 1 teaspoon vanilla extract
- 1/2 teaspoon kosher salt
salted maple whipped cream
- 2 cups heavy cream
- 3 tablespoons maple syrup
- big pinch of kosher salt
- splash of vanilla extract
Instructions
- Preheat the oven to 400F. To make the crust, add the flour, sugar, and salt to a medium bowl. Stir until combined. Add the lard and use your fingers to smoosh the lard into the flour, until it is mostly incorporated. You should have a shaggy dough.
- Add 1 tablespoon of cold water and mix it in. If the dough is still very shaggy, add 1 tablespoon additions of water until a dough forms. Transfer the dough to the table and shape into a round disk. Cover the dough with plastic wrap and transfer to the fridge for 30 minutes to cool.
- Once the dough has chilled, remove from the fridge and use a rolling pin to roll it out in a circle until about 1/4" thick. Carefully transfer the dough to a 9-inch pie dish and cut off any excess dough hanging off the edges. Use your fingers to finish the edges of the dough into whatever design you prefer.
- Generously flour the top of the crust and use your fingers to spread it evenly across the entire crust (this will prevent the parchment paper from sticking). Whisk the egg in a small bowl and brush just on the edges of the crust. Get a large piece of parchment paper, larger than the pie, and crinkle it in your hands. Flatten it out and place it on top of the crust, then add in pie weights or dried beans.
- Transfer the crust to the oven and bake for 10 minutes with the parchment paper and weights, then carefully remove the parchment paper and weights and return the crust to the oven for an additional 10-15 minutes, until golden brown.
- Set the crust aside to cool slightly while you make the filling. Add all the ingredients for the pumpkin pie filling to a large bowl: pumpkin puree, sweetened condensed milk, brown sugar, eggs, pumpkin pie spice, cinnamon, vanilla extract, and salt. Whisk until well combined and smooth.
- Pour the filling into the warm crust. Carefully wrap the edges of the crust with tinfoil (so it doesn't get too brown while baking). Place the pie on a baking sheet then transfer to the oven. Bake at 400F for 15 minutes, then drop the temperature to 350F and bake for an additional 35-45 minutes, until the middle is just slightly jiggly.
- Let the pie cool completely (you can also transfer it to the fridge overnight).
- When the pie is cooled, make the whipped cream topping. Add the heavy cream, maple syrup, vanilla extract, and salt to a large bowl. Whip with a stand or hand mixer just until stiff peaks form. Add the whipped cream on top and serve. Enjoy!!






The whip cream alone is an absolute 5 star I’ve been using it for everything thank you so much for sharing!!
i’m so glad you enjoyed!! and yes, i don’t blame you, i want this whipped cream on everything!